Gardeners often contend with different challenges depending on the climate where they live. But gardening enthusiasts all across Canada face a common foe: clutter.
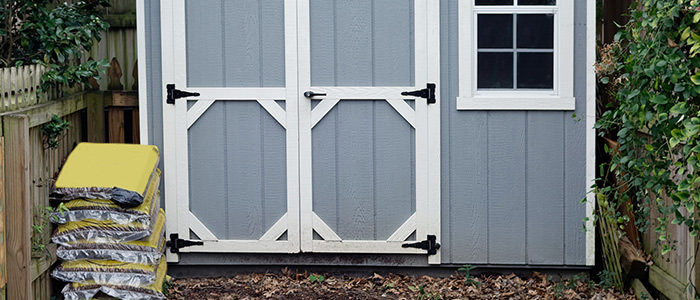
The garden shed (or garage) is one space that seems particularly prone to disarray. And for gardeners, those disorganized drawers and over-stacked shelves stand in the way of productivity. You won’t get far if you can’t find the tools or products you need when you need them!
Looking for a fresh start in 2018? While we have yet to invent a product that can organize your space for you, we can offer these useful tips for organizing a garden shed. Follow these simple steps to create an organized, Pinterest-worthy garden shed!
-
Set Your Garden Shed Goals
Ask yourself: how exactly do you plan to use the space? Answering this question is the first step to organizing any room. The garden shed is no exception.
Will you use the shed for storage only, or should there be room for a potting bench? If it’s a workspace, will you work sitting or standing up? Do you plan to use the garden shed spring through summer, or do you have plans for the winter as well? Your answers will inform the decisions you make in the steps that follow.
-
Empty and Sort
You can’t plan an organized garden shed unless you know your storage needs. To do this, you’ll have to empty it out and take stock of what you have: all your gardening tools, containers, and other supplies. From here, you can get a better idea of what to make room for.
This is also a good time to downsize. Keep what you use often, and consider recycling or giving away those items you haven’t touched in a while. The same goes for duplicates; there’s no use hoarding an extra wheelbarrow you don’t use!
-
Make a Plan
Now that the garden shed is empty, you can begin measuring and making a plan. Planning is one of the most important tips for organizing a garden shed. Otherwise, you’ll have no idea how many shelves, bins, baskets, labels, or other storage items to make or buy.
Think about the things you use most often, like your go-to garden tools, gardening books, or favourite pair of gardening gloves. These items belong on open shelves at eye-level, on hooks, or in cubbies within arm’s reach. The things you use only occasionally can go atop shelves, in closed storage bins, or under a bench.
This step is important to ensure your garden shed will be functional as well as neat and tidy.
-
Get Started
Once you’ve thought of a place for everything, it’s time to gather what you’ll need to get organized! There are lots of storage solutions for purchase and plenty of tutorials online. This is where you can be creative.
You can upcycle old mason jars or coffee cans to store smaller tools, or hang them on the wall using a magnetic strip. Buy or create a tool hanger for bigger tools like shovels. Try making a clever DIY hook for the garden hose, and organize seed packets however you like.
-
Keep Going
Much like gardening itself, organizing a garden shed is an ongoing process. You can’t be sure whether your organizational strategy will work until you’ve spent time with it. Don’t be discouraged if your plan doesn’t fit how you end up using the space organically! You can always make changes later.
From spring to summer, keep note of what is and isn’t working for you in the new garden shed. When the gardening season winds up in the fall, you will have time to go back to the drawing board.


