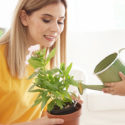
Winter is a time of hibernation for many forms of plant life, but the dedicated gardener can work around Mother Nature’s cold embrace. Even if you already enjoy gardening in your home, it can be rewarding to supplement that by launching the outdoor growing season early with indoor seed growing.
Here are some tips on how to produce the best results when starting seeds indoors.
-
Choosing the Right Seeds
Not all seeds are suitable for indoor growing. Perennials and herbs are good choices, as are geranium, hollyhock, bellflower, browallia, lady’s mantle and begonia.
Indoor vegetable gardens are quite popular but for the vast majority of Canada, it is too early to start those seeds. Most seeds require only six weeks of indoor germination before being moved outside, so be careful about which ones you select this early in the year.
The seeds chosen will help determine your start time. The goal is to have seedlings at the proper size for transplanting when the weather outside is right. Seed packets should provide the information you require. Depending on the plant and whether you plan to move it outdoors, the start time is typically 4-8 weeks before the last frost of the year. Plants you will keep indoors have no set start time.
-
Small Pots or Starting Trays
You can use either small pots or starting trays. For your growing medium, choose a seed starting mix and press the soil down when placing it into the pot or tray. This helps to release any trapped air, but don’t use an excessive amount of pressure as this can make the soil too firm.
-
Correct Seed Depth
Determine seed depth by placing them at about twice the seed’s diameter. You can speed the process along by using a pencil to indent the soil. Place the seed in the space and then cover it with new soil mix. Smaller seeds can be placed on top and then sprinkled with the mix. Label what is in each container because you won’t be able to tell by looking at the seedlings.
-
Water, Warmth, and Fertilizer
You need to keep the soil moist, not wet. Overwatering can kill the seedlings. Watering from the bottom allows the moisture to work its way up. If you have a habit of overwatering, try using a handheld spray mister. It gets the job done and reduces the chances of error. Cover the pots or seed trays with plastic wrap or a plastic cover until the seedlings have started to poke through.
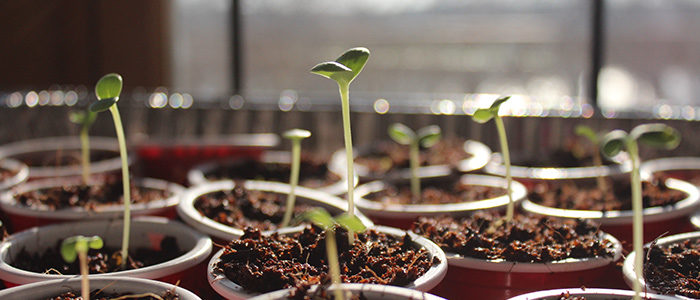
Store the pots or trays in a warm spot of your home until the seeds germinate. Once they start popping up, it is time for the nourishment light provides. Plants typically need 12 hours of sunlight per day, or at least sufficient time with a light of the right intensity, so grow lights are a good investment. If you choose to use the sunlight coming through your windows, rotate the pots or trays every 7-10 days to ensure that the light is evenly distributed.
Hold off on fertilizing the plants until the first leaves appear (we recommend Plant Prod Ultimate 5-15-5 Root Booster). Once the leaf count is 3-4 per seedling and/or each seedling is 3-4 inches tall, transplant them into separate containers to prevent overcrowding.
-
Readying Them for Outdoors
It is important to gradually acclimate the seedlings before transplanting. Start leaving them outside in the colder temperatures two weeks before the move.
During this time, you should start preparing the garden soil to receive its new tenants. Doing so also fools weeds, causing them to appear early and become easy to eliminate. Once you are certain that frost is over for the year, move the seedlings from the pots into their new home using a high-quality starter fertilizer. As they grow, you can ensure their health with plant-specific fertilizer containing an appropriate nutrient value, and regular watering.